Technology
To make an interactive dome, there are a number of ingredients.
Here's what we're using, what we've tried and what we'd like
to try:
The Dome and Projector
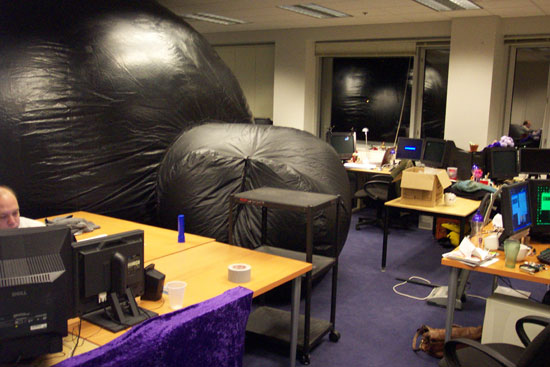
We have a 5 meter inflatable dome. Inside, in the center,
there is a modified Epson PowerLite 715c projector fitted
with an Elumens
lens for spherical projection.

The 3D Engine
The one requirement for a 3D engine in the dome is that it
be able to output an image that is properly distorted such
that when viewed on the curved surface of the dome it appears
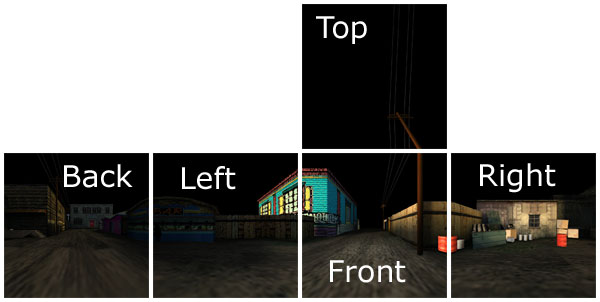
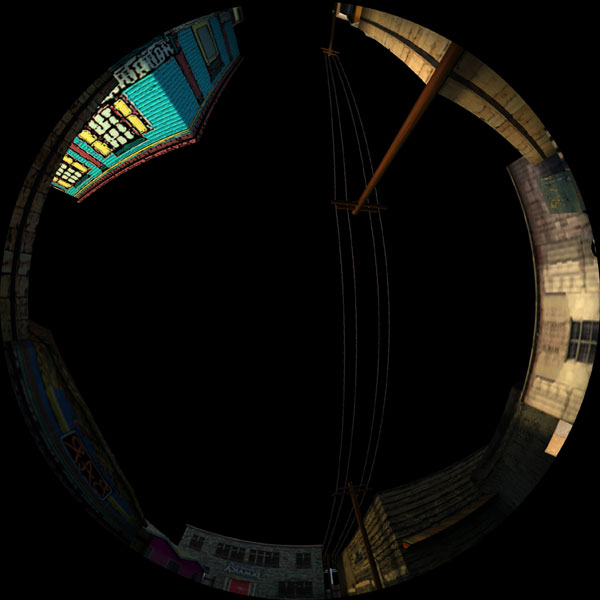
correct. This is called spherical projection. In the following
two pictures, you can see the contrast between the 5 2D views
and a combined, properly distorted image ready for projection
on the 3D dome surface (click to view larger versions).
Coming into the project, there were no off-the-shelf, real-time
spherical projection renderers readily available. Elumens,
the makers of our lens, had released an API for spherical
projection, but to our knowledge, no one had gotten it working
with a commercial 3D engine.
Panda3D (Panda)-
In talking with David Rose of the Disney VR Studio and the
ETC Panda Team, we discovered that Panda has spherical projection
code already. A special build was created for us, and we ended
up using Panda3D for the semester.
Unreal Tournament 2003 (UT2K3,
CaveUT)
- Towards the end of the semester, Jeff Jacobson from UPitt
got his CaveUT code working for domed output. Though the coverage
is currently not as good as Panda's, UT presents a second
3D engine suitable for development.
 |
Using Panda3D means that we
can quickly adapt experiences made in the Building Virtual
Worlds class. Here are a couple screenshots from two worlds
that we adapted: Vengeance and Soapbox Racer. |
 |
DigitalSky
We experimented with existing technologies such as DigitalSky
by SkySkan.
Using DigitalSky, we were able to verify that our lens and
projector work. In addition, DigitalSky offers another (non-3D)
paradigm for interactivity in the dome environment.
| DigitalSky includes starfields,
panoramas, scriptable shows, and pre-rendered movies.
Here are images of a starfield with Mars superimposed,
and an immersive movie of the Vatican. |
 |
 |
 Stitcher Stitcher
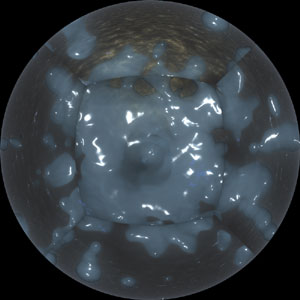
We learned stitcher software as well, so that we could produce
pre-rendered, non-interactive content as well. The image to
the right (click to enlarge) is a test render from Maya that
highlights the complexity of composing for a dome environment.
Setting up the appropriate camera positions for all five views
is the first problem to solve. Even with the correct camera
position, the radiosity failed to render correctly.
Input Devices
Mouse: We found that the mouse was difficult
to map correctly onto 3D space in the dome, partly due to
guests preconceptions of how a mouse should work. Also, requiring
a flat surface, the mouse is not a great input in general.
GyroMouse: We also tried a gyromouse which
works like a mouse, but is not tied to a surface. The freedom
of the gyromouse suggested a pointing style of interaction
that it could not provide. Also, children couldn't get their
hands around it to use it properly.
Trackers: We got magnetic trackers working
inside the dome, although the location of the spacepad (antenna)
was a tricky question. We decided the technology was too delicate
and uncommon to use for our purposes. However, the 1-to-1
interaction of the trackers is still a desirable input.
ARToolKit: We tested computer-vision-based
glyph recognition software (ARToolKit) in low-light conditions
within the dome. Though we were able to get the system to
work with relatively little light, the viability of glyph
recognition is hindered by constantly changing light as the
images projected on the dome shift.
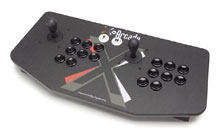 Joysticks:
With the proper mapping, we found that X-Arcade joysticks
work well. They are also extremely easy to integrate with
Panda, as they are essentially keyboard emulators. Joysticks:
With the proper mapping, we found that X-Arcade joysticks
work well. They are also extremely easy to integrate with
Panda, as they are essentially keyboard emulators.
Trackball: We got the X-Arcade trackball
working, but didn't do enough exploration to really come to
any conclusions.
Laser Pointers: In an effort to get another
1-to-1 style input, we attempted to get laserpointers working
as input devices. Though we didn't succeed in implementing
a laser pointer detection system, we have analyzed the dome
for web-cam coverage. With 4 Logitech
QuickCam 4000's we could get a large portion of the dome
covered for laser pointer input.
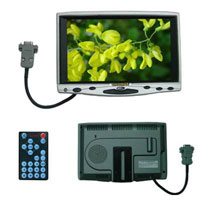 Lilliput
Touchscreen: We found that a touchscreen provides
a successful interface, as long as the split focus between
the dome surface and the screen is managed properly. With
sound and visual cues, we were able to turn the touchscreen
into a pretty solid interface. Lilliput
Touchscreen: We found that a touchscreen provides
a successful interface, as long as the split focus between
the dome surface and the screen is managed properly. With
sound and visual cues, we were able to turn the touchscreen
into a pretty solid interface.
Chairs
Seating became a major issue as we noticed many children
craning their necks frequently. Some even noted pain after
the experience was over. Seating in the dome has a few requirements.
- It should be low to the ground.
- It should take up little space.
- It should offer back and neck support.
- It should allow the guest to lean back to view the dome.
Club Bean Bag Chair: These chairs were ok,
but didn't offer enough back/neck support.
Folding Camp Chair: These chairs were too
high, and took up too much space.
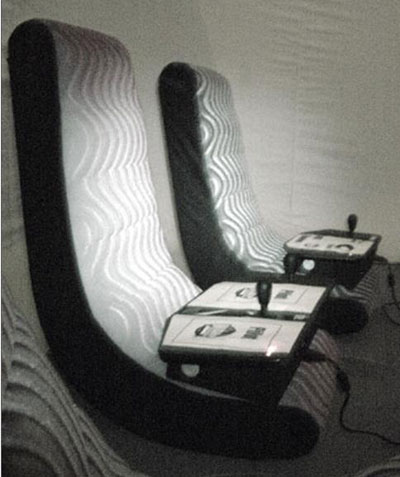
Video Rockers: Though these chairs are sometimes
a little tough for adults to use, they are generally well
suited to the dome. They are low to the ground, take up little
space, provide the requisite support, and by their rocking
nature, allow self-adjustment.
Other Technologies
Chromadepth: We're experimenting with Chromadepth
glasses to see if we can get a viable 3D experience working
in the dome environment.
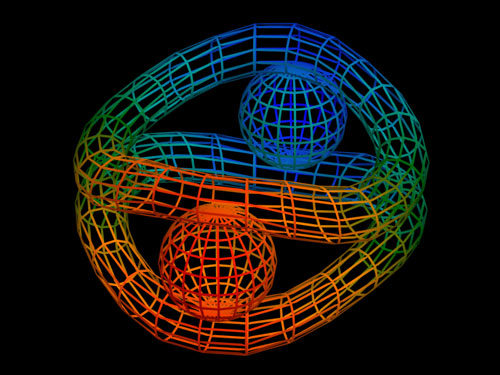
A Chromadepth Model
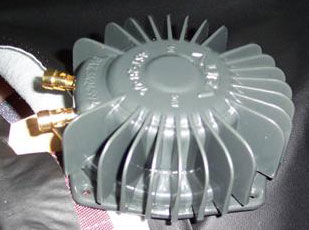
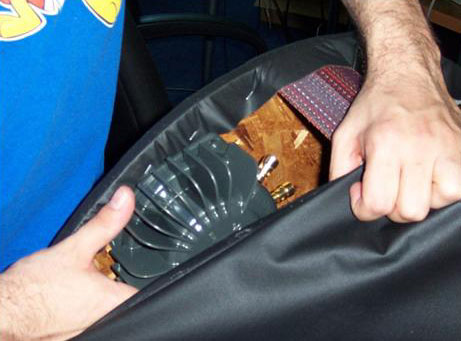
Bass Shakers: We installed Aura Bass Shakers
(AST-2B-4) in the video rockers to add a rumble at various
points in the experience. This proved to be very effective,
though it came at the cost of two of our audio channels.
|

